I hope you have all read my ZLS deployment guide blog and found it useful in deploying your own ZLS into your environments. I thought I would do a follow up on a few things I have noticed now I have it imbedded in my setup.
ZLS seems to be relatively set and forget – unless you need to divide up licence keys you can pretty much forget it exists.
Ensure connectivity remains between ZLS and each ZVM Connected to it! If the ZLS does become disconnected from the ZVM’s then you will not be able to add new VPG’s to your environment
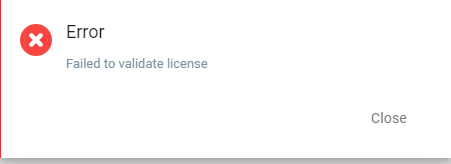
Once the ZLS becomes disconnected you will see the below error on your ZVM
Once you then try and run through the VPG Setup as you try and finalise the settings you will see this error:
Until you resolve the issue with the ZLS and ZVM communication you will be unable to create new VPG’s
All recovery functionality remains available so no impact to ongoing protection or the ability to recover any data either from the journal or LTR repositories.
I was playing around with the new Zerto Licence Server recently and have deployed it into my lab at home,
I then thought, maybe other folks would find it useful to have a walkthrough guide as this is a new component to the Zerto stack… So here it is:
ZLS Overview
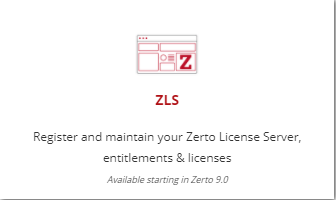
Firstly what is the ZLS – well as you can guess its to do with licencing… yes i know the worst subject ever, but important nonetheless. The newly introduced License Server delivers enterprise license automation, self service and reporting to streamline Zerto software licensing.
ZLS Deployment
Download Appliance
As with all Zerto products and packages these are downloaded from the MyZerto portal. once logged in navigate to the “Support and Downloads Page” and download the ZLS package. the great thing about the ZLS is that it gets deployed via an OVF Appliance rather than just install packages, this makes deploying it super simple inside of a VMware Environment.
Deploy OVF Appliance
As i’m sure most of you are familiar with deploying an OVF Appliance i won’t spend too much time on this as its a pretty standard deployment
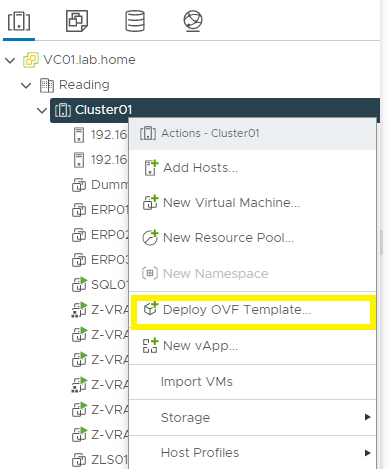
1- Navigate to vCenter to deploy OVF Appliance
2- Continue Through the Wizard to select the relevant files for upload
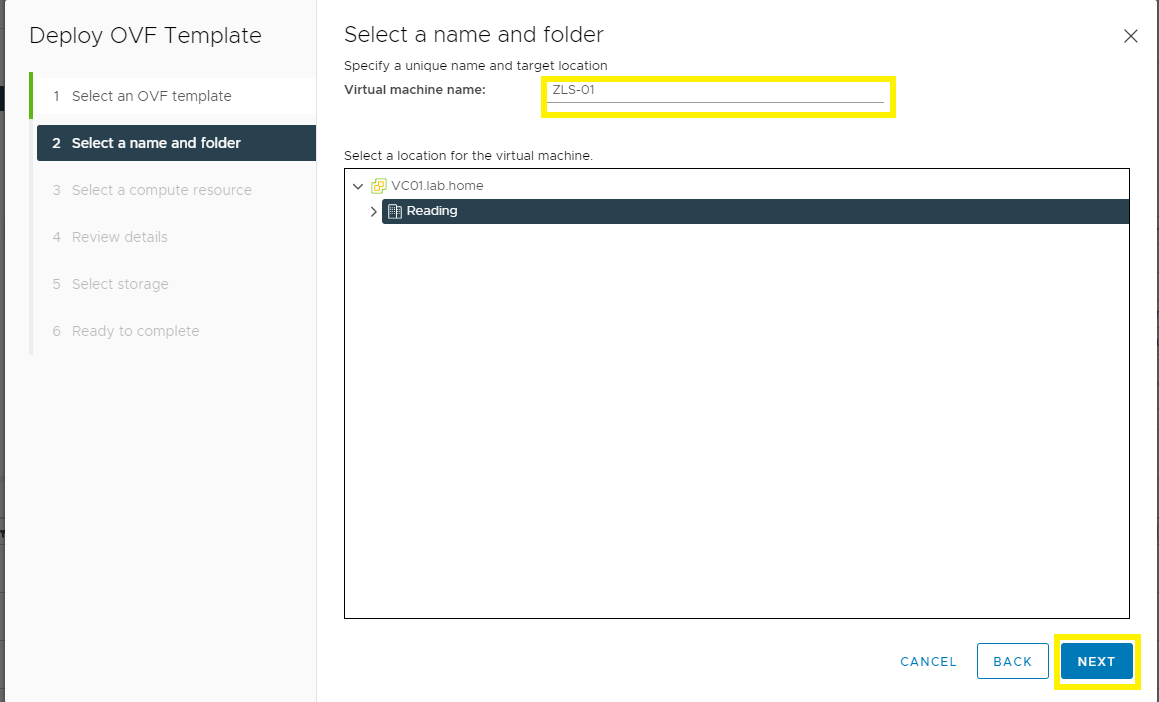
3- Name the VM and Select the location of the VM
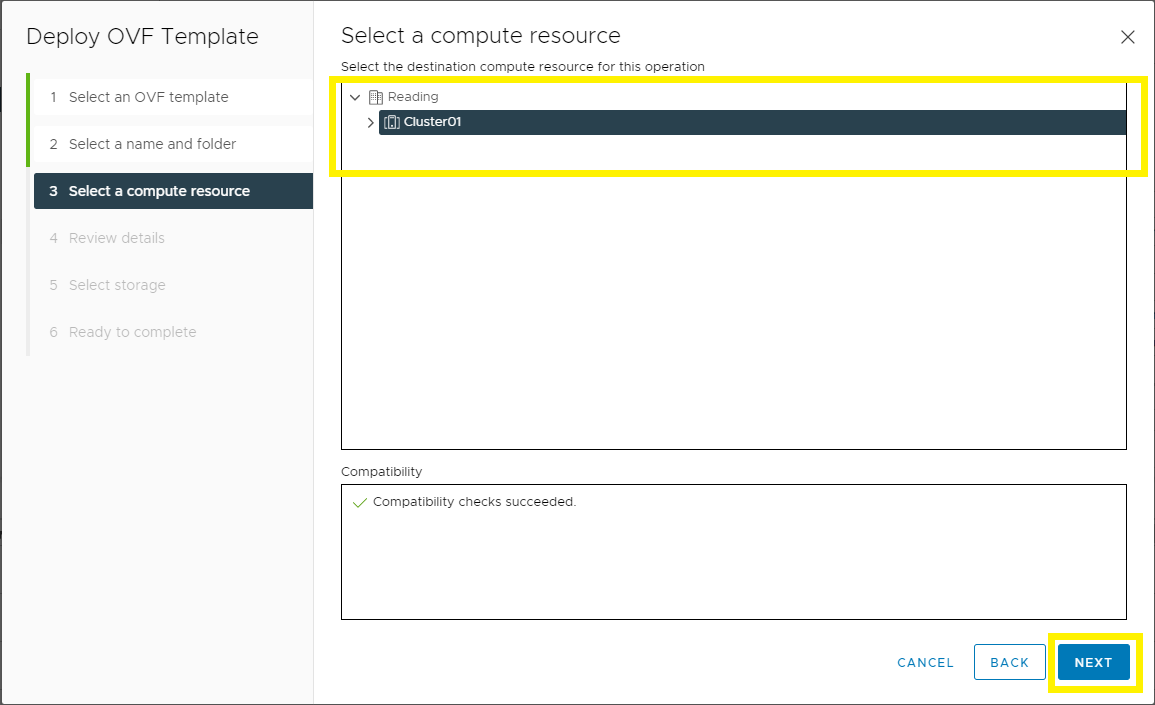
4- Select Compute Resources needed to run the VM
5- select the Storage where the VM will be located
6- Select the Network for the VM to be attached to
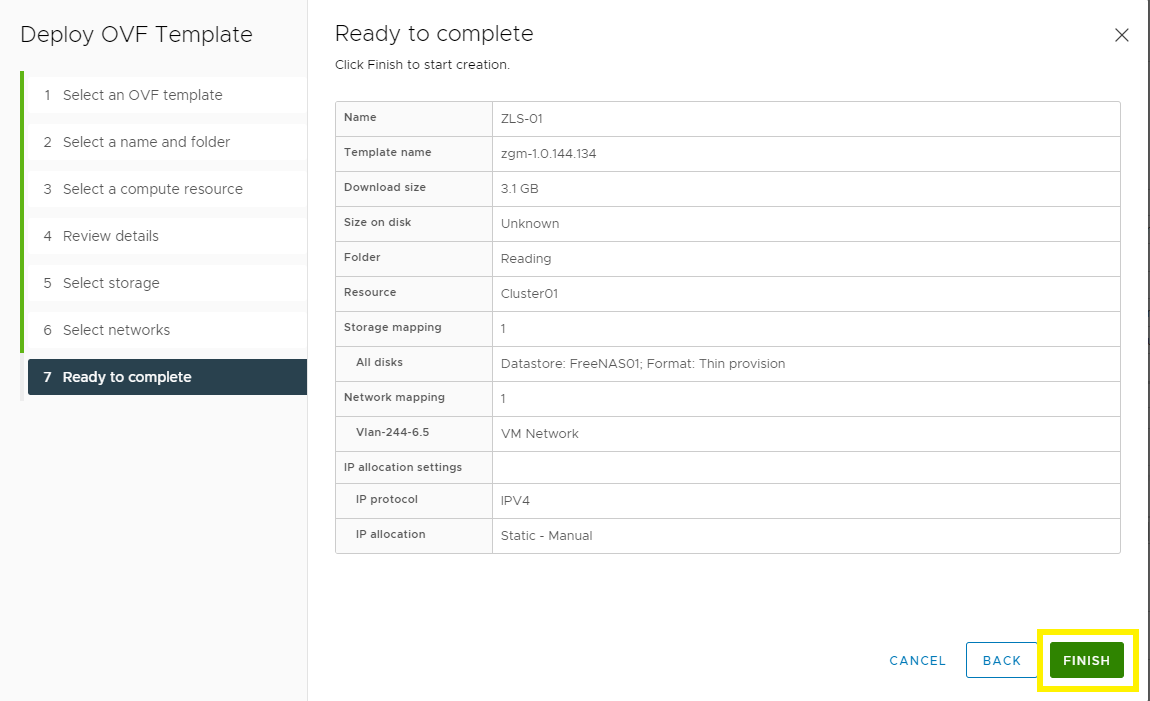
7- Finish and Deploy
ZLS Initial Configuration
Now the ZLS appliance has been deployed, we can start the configuration F
Firstly open the ZLS backend UI which is based upon KeyCloak – this is access via :
This will open the KeyCloak login page, first login credentials are:
Username: admin
PW: admin
NOTE: you will be prompted to change the password upon first login.
Consider disabling the admin user and setting up your own accounts for security purposes – in my demo i have set up zls-user as a profile.
Keycloak has a wealth of other user management methods including AD integration etc, I will be looking into these at a later date.
Once this has been done you will need to generate an Initial Access Token – this is used to pair a ZVM to a ZLS – I have configured the token to last 1 day as i intend to use it straight away
Keep a note of the Token as we will need it later on and you cant get it back once you close the window
You will need to create a new token for each ZVM connection to the ZLS
ZLS Connection to Zerto Back Office
Now we have our initial setup sorted we will now need to login to the ZLS itself – to do this we just need to access:
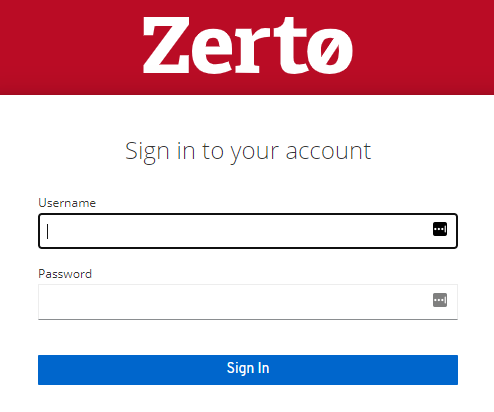
This will open up the ZLS portal where you can login using the account you have created.
Now logged in you will need to gather the Server ID, this is achieved by selecting the Server ID Button.
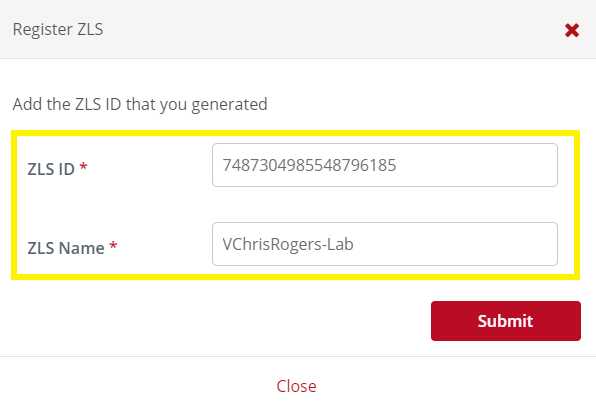
Once we have this we need to go back to MyZerto and in the support and downloads section we will find a ZLS section. open this section and the first part we need is to “Register ZLS” this is where we will need the Server ID and we will be required to name the ZLS
Connect ZVM to ZLS
Now we have connected the ZLS to the Zerto Back Office we will now run through connecting a ZVM to a ZLS
Please note if you have already deployed a ZVM this process CANNOT be reversed!
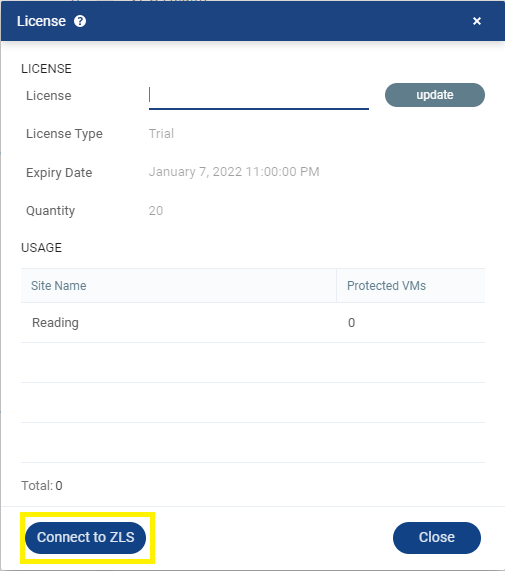
Log into your ZVM and navigate to the menu in the top right, select the “Licence” Option and select connect to ZLS
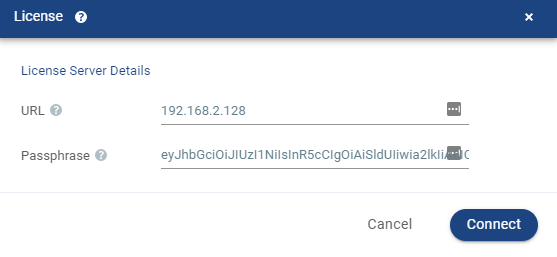
Now you will need to enter the URL for the ZLS and the token we created earlier
Create Licence Key
So now we are back to the MyZerto Portal in the ZLS Section, we click the big button titled “+Licence”
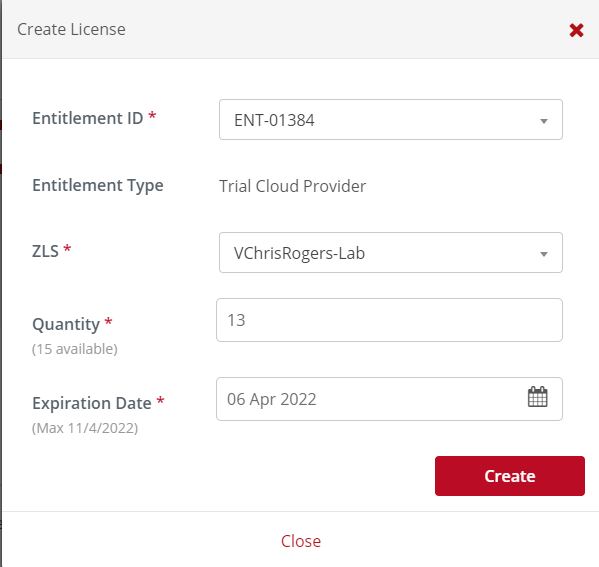
This will now bring up a new window asking you for some criteria =:
1- Entitlement ID – will be a drop down from your existing entitlements
2- ZLS – which ZLS you want to register this Licence key to
3- Quantity – Number of VM’s you want this Licence to be for.
4- Expiration date – expiry of licence upto the maximum date of your entitlement
This will now allow you to copy the licence key to your ZLS
your connected ZVM’s will now consume its licence through the ZLS, and will no longer be able to input a standalone licence key into a the ZVM
Well that’s all for this post! i hope you found it useful, feel free to comment and share!